")
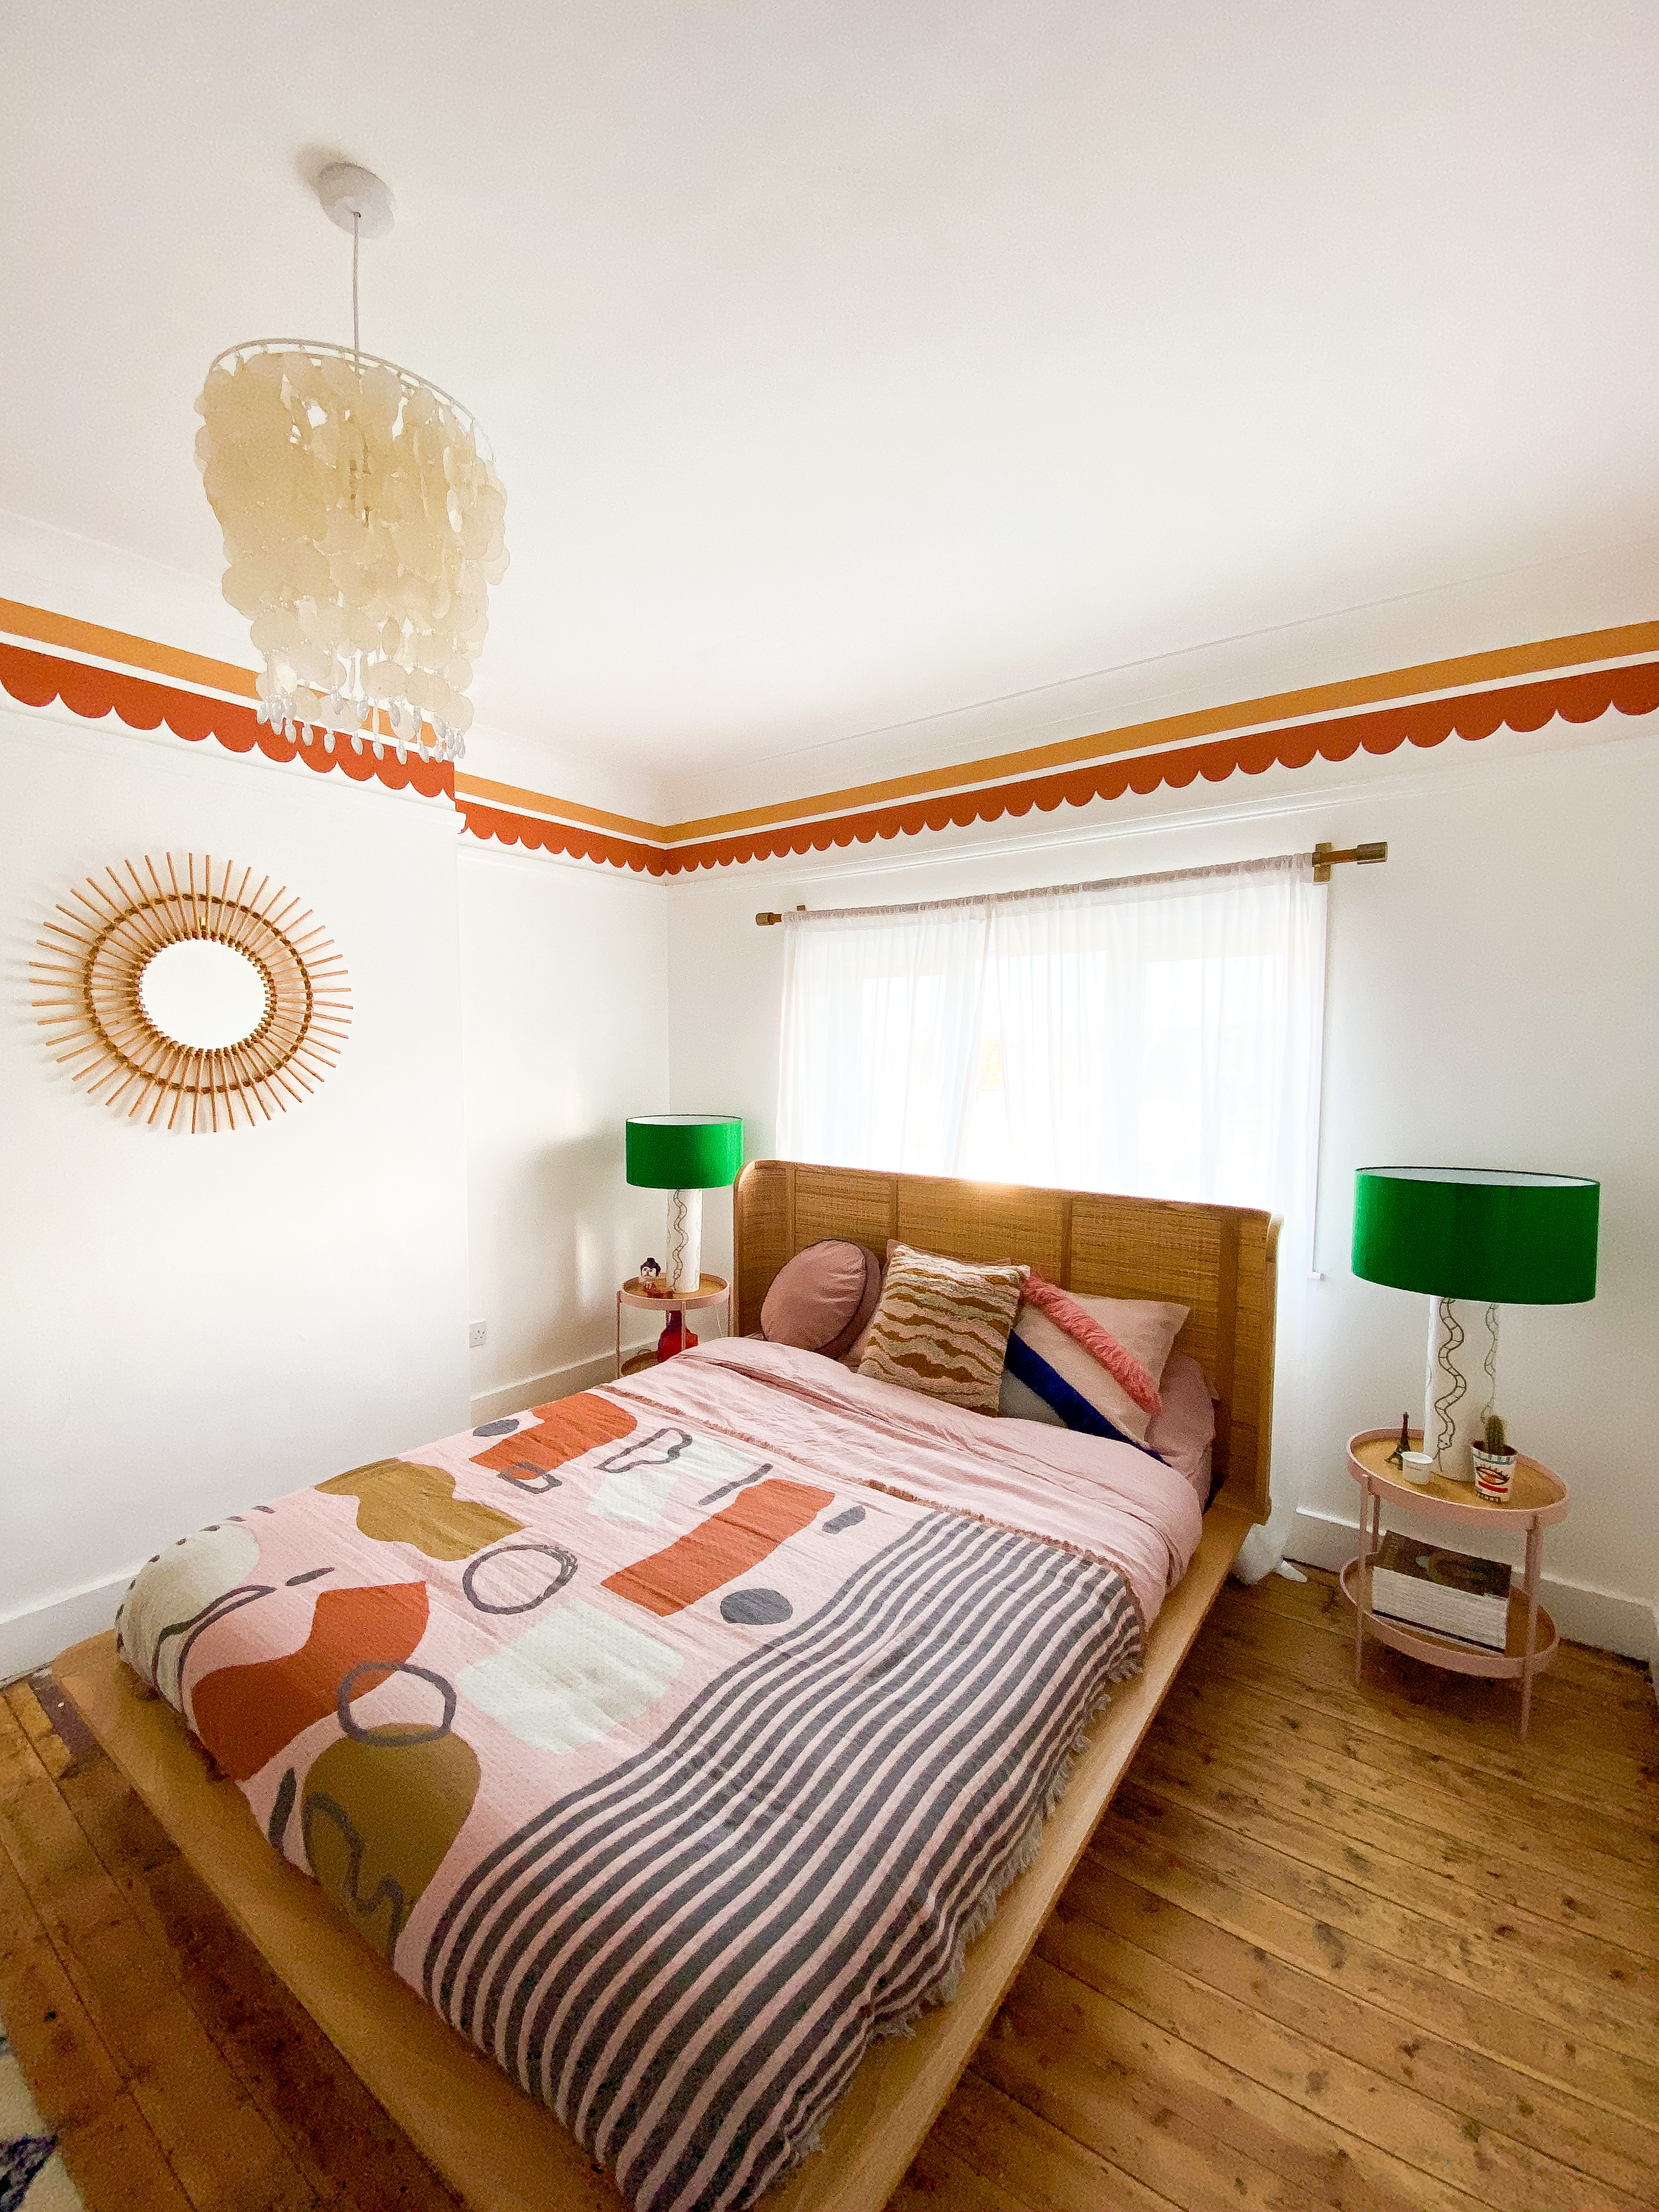

One of my favourite ways to update a room and make it my own is with my signature stripes. You might remember that I initially used this striped border in my Californian bedroom in London, before bringing them to my living room in Margate, and most recently to my guest bedroom with a stripes and scallops update.
Painting stripes and shapes onto your walls is a brilliant way to add personality to your home. Once you’ve mastered the technique, you can apply it to any design, whether that be creating blocks around your artwork a la Bianca of French for Pineapple, or rainbow walls as seen in Melanie Lissack’s home.
Thinking about adding some stripes or colour blocking to your abode? It’s a lot easier than you might think! Here’s my tutorial for painting stripes and scallops on your walls.


You will need:
– Low adhesive painters tape (Frog Tape, Tesa, Pro Dec)
– Paint tester pots!
– Small paint roller or paintbrush
– Ruler and protractor (an old school set you would have had at school is perfect)
– Pencil
– A credit or store card (or similar)
1. Decide on the design you want to create.
It’s important to consider the space that you’re working with when it comes to choosing the design you’re going to create. While stripes look beautiful on the top half of a wall, they will make the ceiling appear visually shorter. If you’re already dealing with low ceilings, it might be an idea to think vertically instead! Experiment with layouts by playing around with photos first — you don’t need to be a whizz on Photoshop.

2. Measure up. Mark your wall with pencil.
One of the more time consuming elements with painting stripes on your walls is measuring everything up beforehand. You might find this harder if you have a wonky Victorian home. Work to the straight line that looks right to your own eye and measure out where you want your stripes to be. It’s also important to consider the thickness of the stripes themselves and the space between.

3. Tape, tape, tape!
It’s time to get happy with your tape. This the fun part! Tape along your pencil marks — I normally place the tape just outside of them so that I paint over the lines — and stand back to ensure everything is straight and looking good. The beauty of low adhesive tape is that you can pull it back up and readjust if anything doesn’t look quite right. Remember the area behind the tape will remain unpainted so you’ll need to do this in stages if you want the colours to meet.
4. Run a credit card or similar along the tape.
This step is VERY important. To ensure the edge of the tape is completely sealed to the wall you’ll need to run a credit card or something similar along the edge. This will stop any paint seeping through and causing uneven lines or rough edges.

5. Add any hand-drawn detail in.
While the stripes and any straight shapes all follow the above steps, creating curves is trickier. You can now purchase tape that works around curves, but I personally find that is just as time consuming and would rather hand paint my curved finishes. To create the scallop effect on my walls, I drew around a protractor underneath a slightly thinner stripe. Who knew your maths school set could come in handy eh?

6. Paint!
Now you’ve done the hard part, it’s time to paint! I prefer to use a small roller as this keeps the paintwork smooth and you’re able to keep the pressure consistent, but brushes also work well. Just try not to overload them with paint. Drips will not be a good look.
For the scallops, follow your pencil lines with a small angled brush and fill in after. Don’t be shy. Commit to the brush stroke. Mistakes tend to happen when you become unsure of what you’re doing. Another trick is to pull the brush into the design any time you start to feel like you’re going off track. Remember, you can use baby wipes to quickly rub off any mistakes, or you can touch up any small errors with paint after.
7. Apply any further coats.
If you’re not sure that one coat has cut it, apply a further coat after around 30 minutes. You don’t want any patches showing through once you’ve removed the tape.

8. Peel off the tape for your design.
Want to know one of the most satisfying feelings EVER? Peeling tape off the wall to reveal a straight line might just be it. I advise peeling off your tape while the paint is still damp. Just be mindful that the tape will be wet!

9. Touch it up.
Check your wall for any slight errors. Mistakes can happen and they’re not the end of the world! I’ve even managed to pick the paint off the wall before. However, if you need to touch up anything use a super super thin artist’s paint brush!

10. Admire your handiwork!
Grab a cuppa and admire your work. You’ve just created a beautiful piece of art directly on your walls and there’s nothing more thrilling than that. Well, maybe, but I won’t judge you for giving yourself a firm pat on the back.
So there you go! I love some stripes and scallops action and I think it’s a great way of adding personality to white walls without painting the entire room. What do you reckon? For more interior inspiration, colour clashing and general life admin, check out the rest of my blog. Follow me on Instagram, Pinterest and Twitter for more EJP in your life.
[…] and useful and I always admire her clever ways with time lapse and stop motion for her posts. Painting the scallops and stripes on her bedroom wall was a particular favourite but she has a mean eye for a trend as […]
[…] and useful and I always admire her clever ways with time lapse and stop motion for her posts. Painting the scallops and stripes on her bedroom wall was a particular favourite but she has a mean eye for a trend as […]
[…] One tin of paint can make a huge transformation in a room. And the best bit? There is less to paint back when you eventually move out. Check out Emma’s How-to paint stripes & scallops post. […]
[…] admiro sus ingeniosas formas de usar el lapso de tiempo y el stop motion en sus publicaciones. Pinta las vieiras y las rayas en la pared de su dormitorio era uno de sus favoritos, pero también tiene un mal ojo para las […]