")

Paid partnership with Hubbub

Let’s talk about being sustainable. As someone that is trying my best to learn about living more sustainably, and adopt this approach more when it comes to both fashion and interior design, it’s important to me that I reflect this in my content online. In 2020, I’ve ditched fast fashion, tried my best to feature small batch interior brands, and limited my consumption. It’s not about changing my lifelong programming overnight, but instead actively thinking about how I can create sustainable changes that I can increase over time.

One of those things is gift giving. We often panic buy for people, not really thinking about what makes Christmas (and birthdays special). Giving homemade gifts and cards to your friends and family is a beautiful way to show someone you care, as well as being environmentally viable and affordable. Today, I’ve partnered with environmental charity Hubbub who run campaigns to inspire people to live greener lives. From creating your own sustainable Christmas decorations, to Christmas crafts and dressing more sustainably, they’ve got you covered. I’ve teamed up with them to bring you a DIY tutorial for creating your own wall art, which I’m sure you’ll agree is the perfect testament to everything I stand for. Here’s what you’ll need for your own DIY masterpiece.

You will need:
- Secondhand or existing unwanted canvas
- Any white or lightly coloured paint (acrylic or emulsion)
- Leftover paint tester pots (any brand will work, but if you are also looking for interior paint options, Earthborn are a great eco-friendly brand)
- Paint roller
- Low adhesive tape (for straight lines)
- Stationery kit (like one a kid might have) – pencil, ruler, compass protractor
For anything you may not have, ask around! Community Facebook groups are great for taking unwanted items (like paint testers) from other people, and often you can share tools amongst friends. Ready to go? Here’s how to create your own sustainable DIY wall art.
Sustainable DIY wall art – let’s go!

Look for inspiration
Choosing a design is often the hardest part of creating your own art, so I often look to Pinterest for a little inspiration. You don’t want to create a direct copy of something, but instead look to these images as an indication of the shapes and colours you might like to use. I’ve started my own DIY art inspiration Pinterest board – if you’re stuck for ideas, take a little look and start pinning your own inspo. I’d also recommend taking a look at Luke Arthur Wells and Whinnie Williams who have both created their own DIY artwork.
Decide on your final design
Once you’ve gathered your inspiration, settle on the final design you’d like to go for so that you can ensure you have the right tools. You can roughly sketch this out, or just keep it in your mind. You can also completely ignore this and opt for a completely abstract look. You do you! When it comes to colour palette, be creative with the leftover paint you have, Choose similar tones for an earthy aesthetic, or clash colours for something a little bolder.
If you’re opting for an organic approach, you’ll just need paintbrushes and a paint roller (if you already own one), and for any geometric designs, you’ll need some low-adhesive tape. For this tutorial, I’m going to show you both.

Prepare your canvas
At this point, you should already have a canvas to work with (either one you already own or one picked up from a charity shop). The beauty of a canvas is that you can paint over it and start again from scratch; not only is this more sustainable, but also a lot more affordable too.
Paint over the original artwork with a coat of white (or lightly coloured) paint or primer and allow it to dry completely. Here’s where I’d opt for a roller for ease, but a paintbrush will do just fine. Depending on existing print on the canvas and the design of your print, you might need another coat. Again, allow the paint to dry completely.

Sketch or mark out your design
Use a pencil to sketch out your design. If you’re looking to incorporate straight lines and shapes in your design, draw these out using your ruler, compass and protractor. I’ve also drawn around plates and cups for previous artwork.
Once your design is in place, you can use your tape to mark out certain shapes. Remember to do a base layer of paint if you want a specific colour underneath.

Start painting!
Here’s the fun part! Start painting your canvas using your roller or paintbrush. You don’t need to over complicate things, I just used one paintbrush and a pot of water to rinse it off for every new colour.
Wall art is all about experimentation – freehand is fun – my advice for any beginners is to be fairly quick with your strokes to avoid hesitant wobbly lines. Don’t be put off if you make a mistake as you can easily repaint and start from scratch, or touch up any mistakes once your paint is dry.

Leave to dry and coat again
Watching paint dry really isn’t that fun, but why not check out some of Hubbub’s other sustainable DIYs while you wait. These five thrifty Christmas gifts are ideal for making your own Christmas hamper.
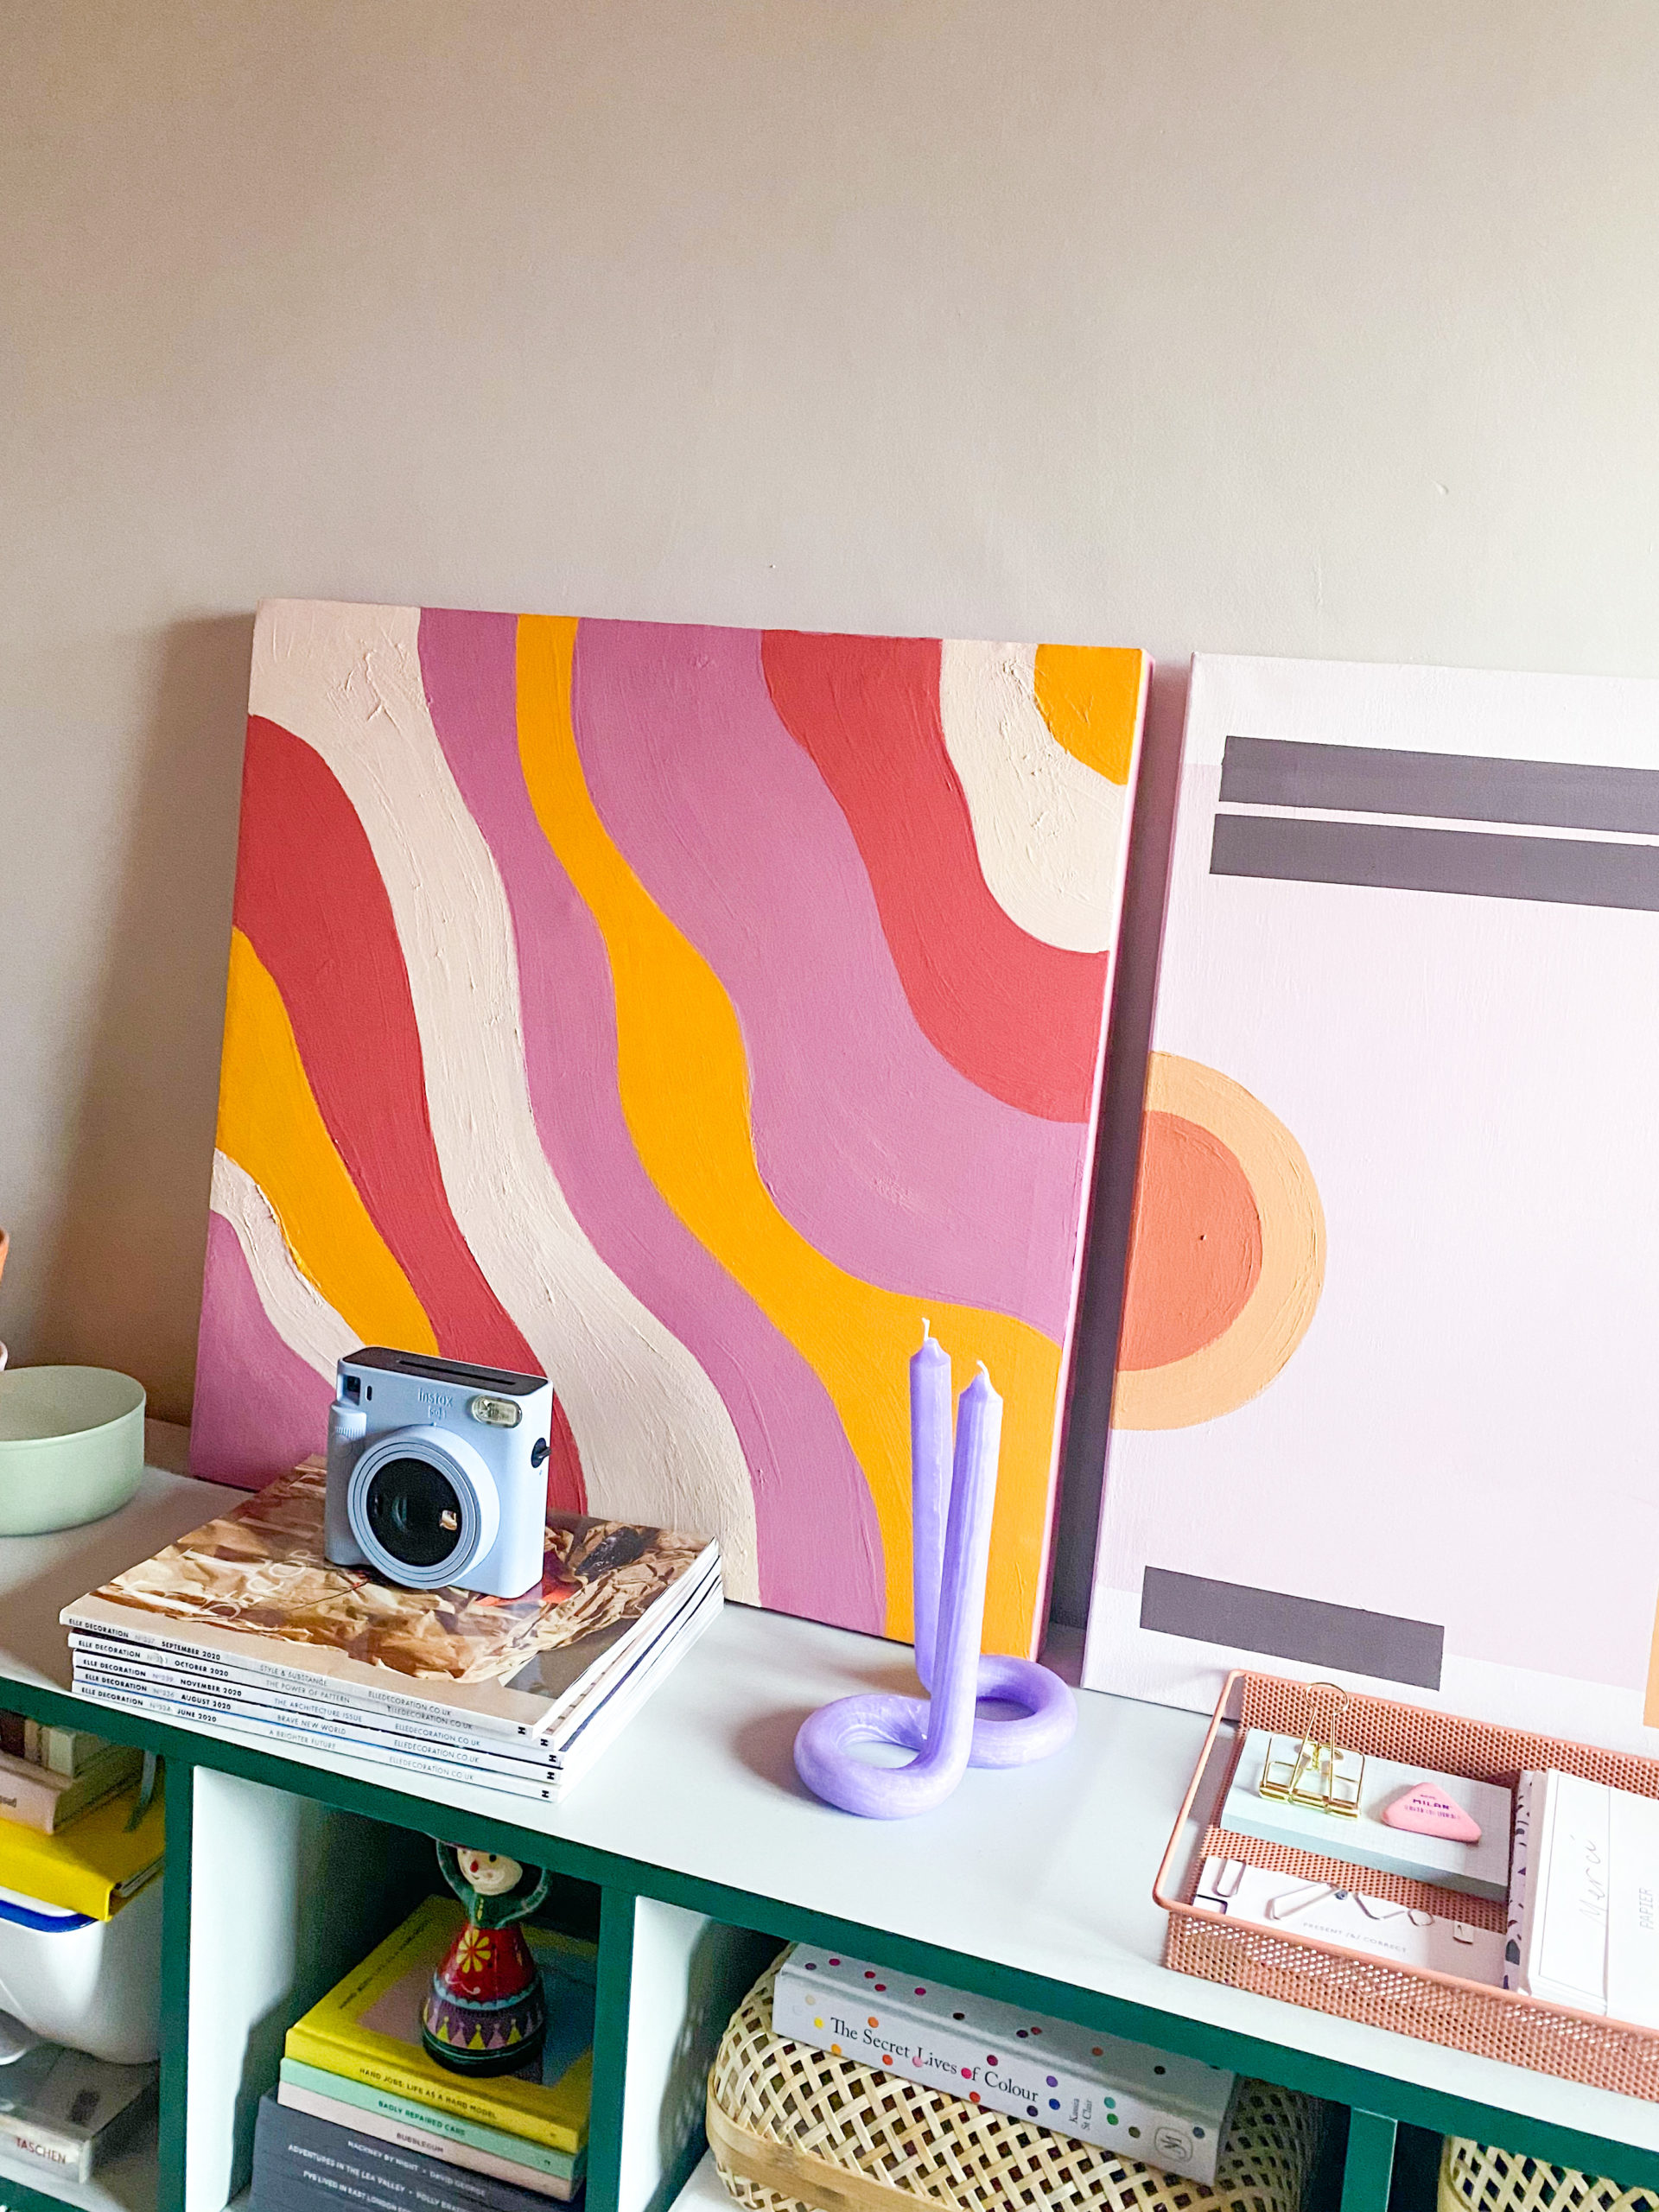
You’ll need to leave at least a few hours between each coat of paint, but depending on paint colours and thickness, you may only need one coat to get the look you want. This wavy piece took two coats of paint.
For geometric designs, you’ll need to ensure that you remove your tape while the paint is slightly wet to avoid pulling up dry paint. However, ensure the paint is completely dry before applying any more tape over the top.


Touch up any mistakes
Mistakes happen, but the beauty of paint is that these mistakes are easy to rectify. Simply use a small brush to touch up any areas that you’re not satisfied with.

Wrap your artwork sustainably
Gift wrap can be difficult to recycle, especially if it has a shiny layer or glitter element. I’d recommend using brown paper which you can decorate yourself with potato prints or wrap with leftover ribbon (I save every ribbon ever for this very reason!). If you have spare fabric, you could also try fabric wrapping – Furoshiki is the Japanese art of fabric wrapping, and is both sustainable and absolutely beautiful.
There you have it, that’s your sustainable DIY wall art. Want more ideas for sustainable living? Hubbub offers inspiration and practical actions that are good for you and the environment. Check out its tips for change for further how-tos. If you’ve created your own DIY wall art as a result of this tutorial, please do share with us on Instagram (@emmajanepalin and @hellohubbub). For more interior inspiration, colour clashing and general life admin, check out the rest of my blog.
COMMENTS +